So the parts arrived for my mini Hyper-V project. I have to say I'm really excited about this. Everything is so tiny! Here's what I have to work with.
ManageEngine ADManager Plus - Download Free Trial
Exclusive offer on ADManager Plus for US and UK regions. Claim now!
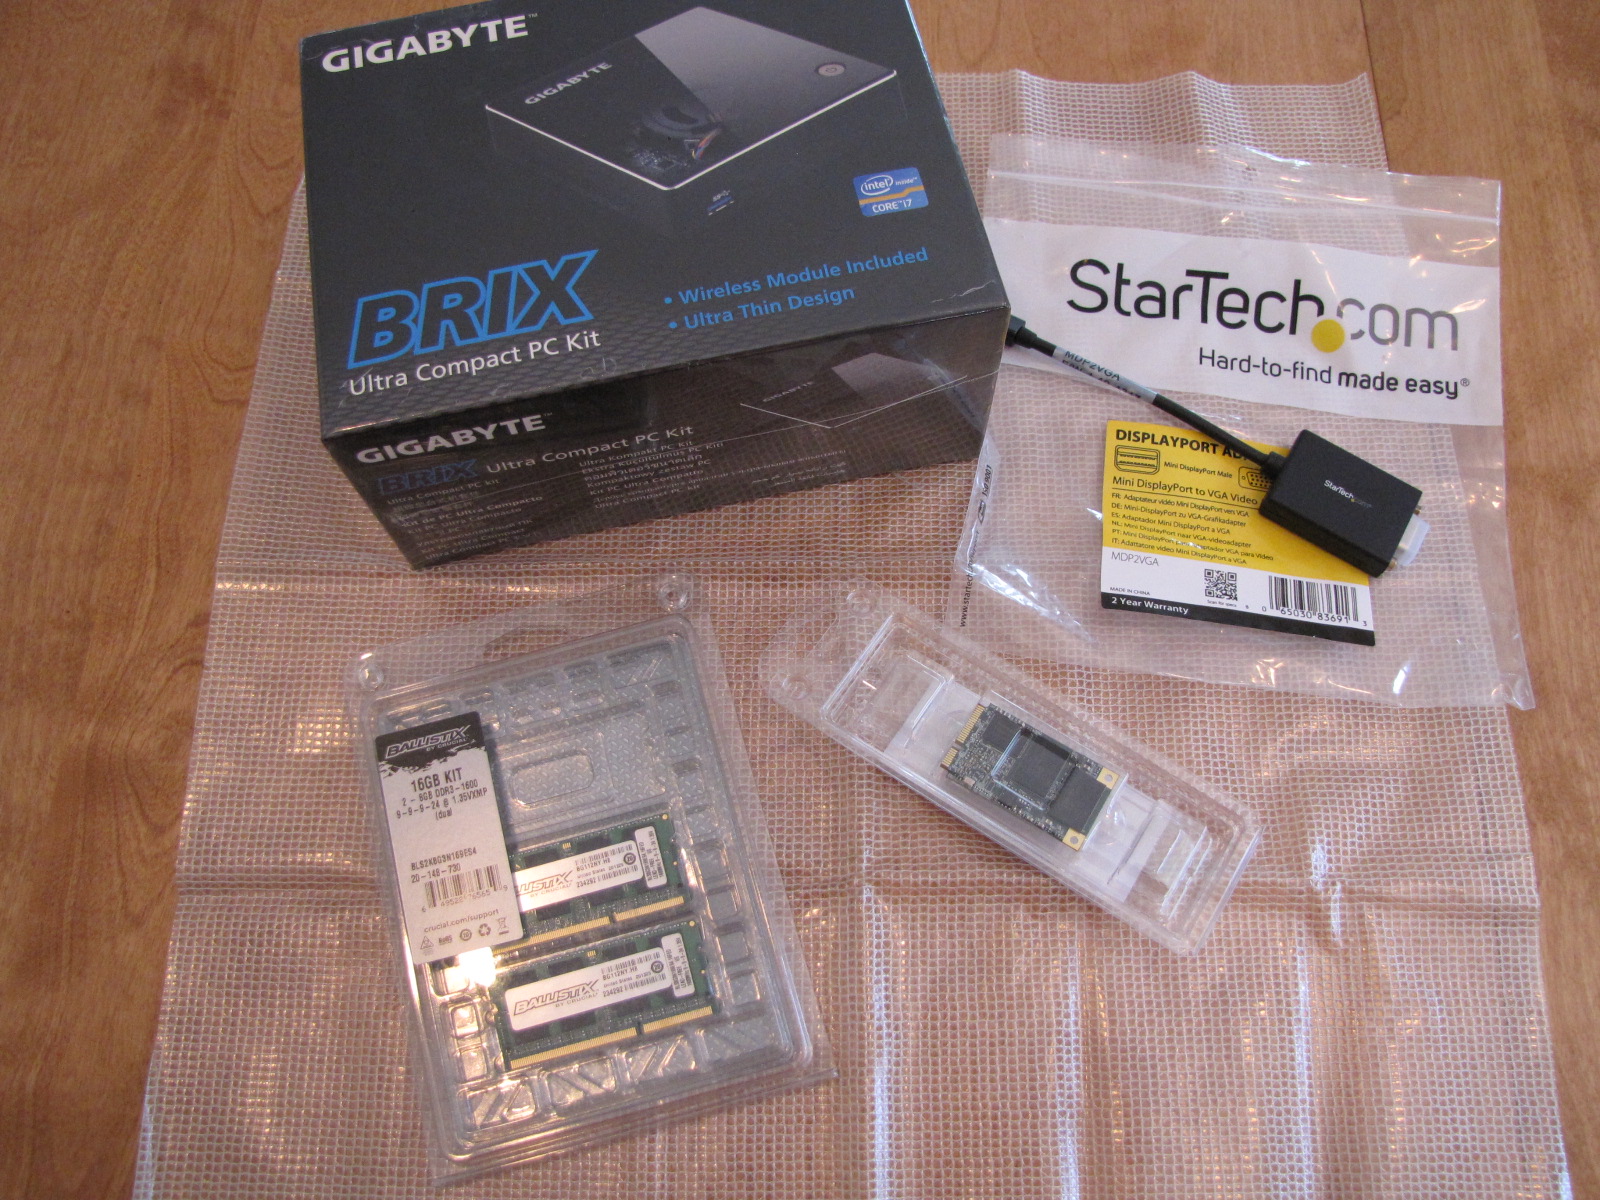
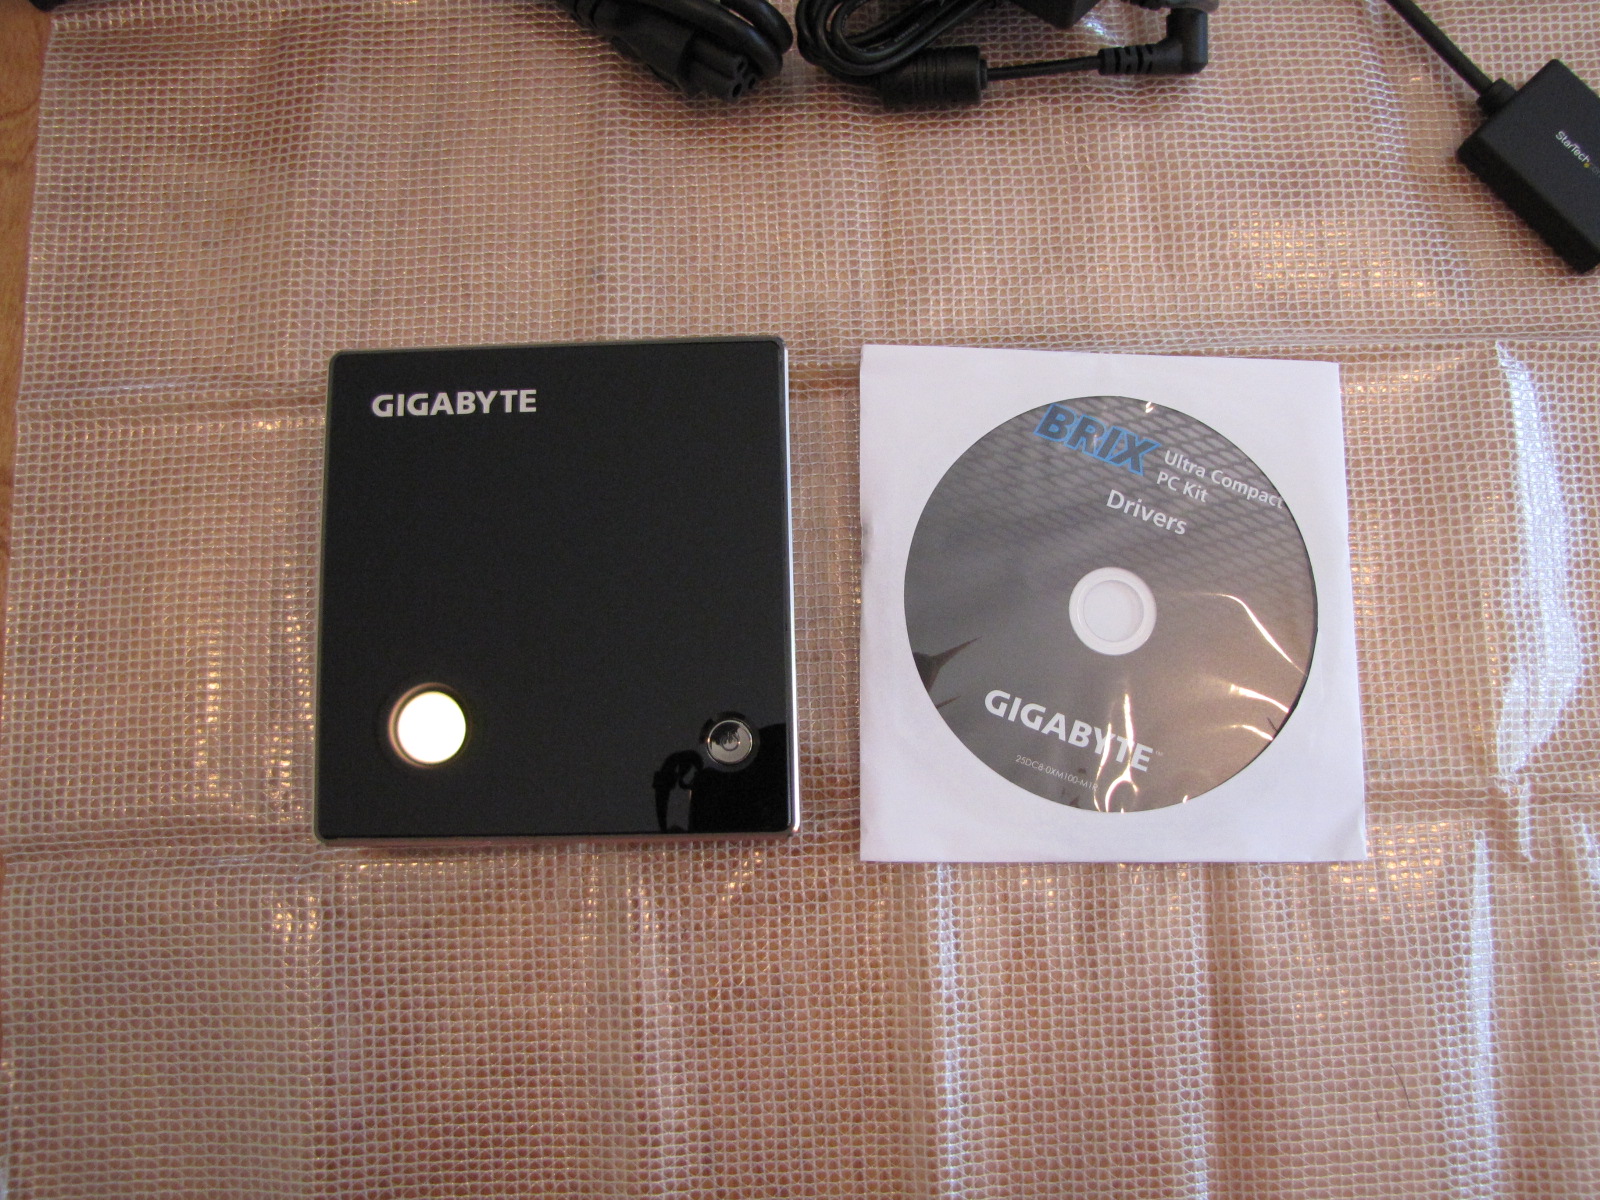
I have the Brix unit, a 256GB mSATA drive, 16GB of RAM and a video adapter. The Brix unit is amazingly small and fits in the palm of your hand. As you can see, it is not much bigger than a CD-ROM. Oh, and that white spot is actually a reflection from the ceiling light. The only thing on the top, aside from the label is a power button which will glow blue when on.
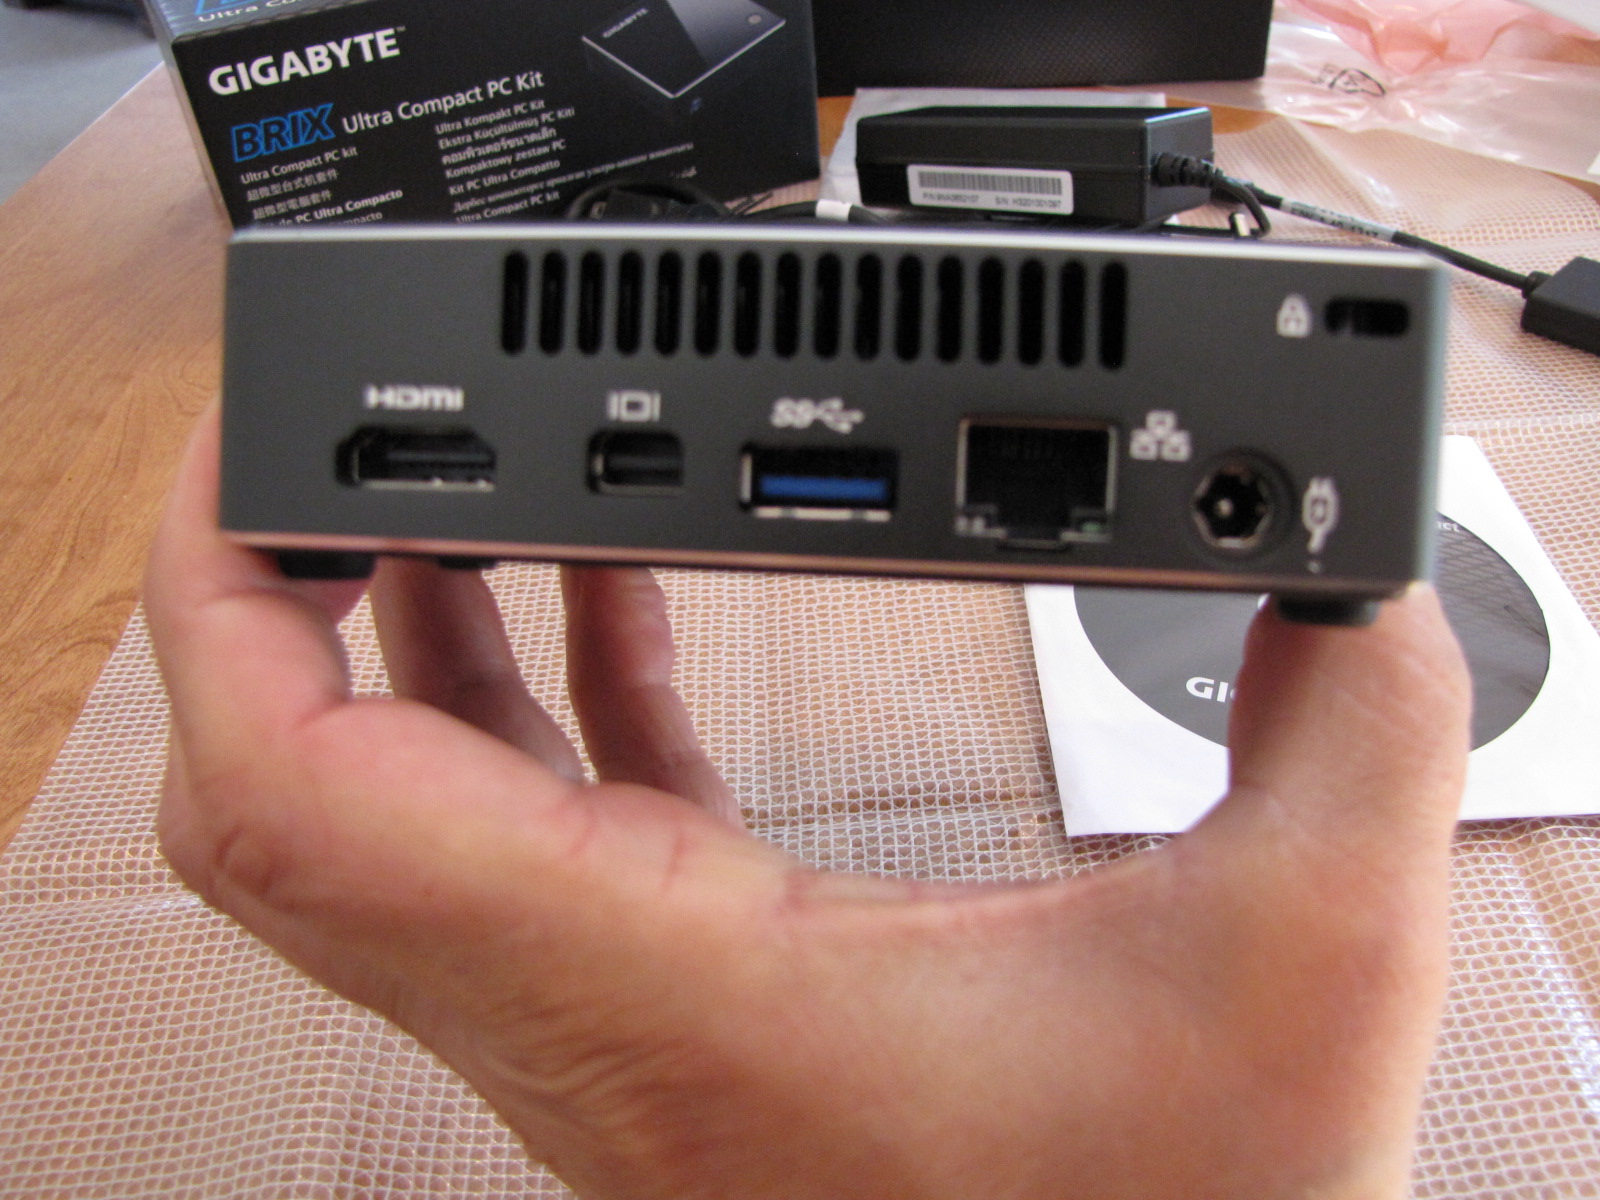
There is a single USB port on the front. Here's the business end. Sorry it is a little out of focus but I think you get the idea.
Now to start assembling. All I need is a small phillips-head screwdriver. Turning the unit over there are 4 corner screws. In the upper right there is also a small knob. Turns out when you unscrew everything you use it as a handle of sorts to remove the bottom. Very nice.

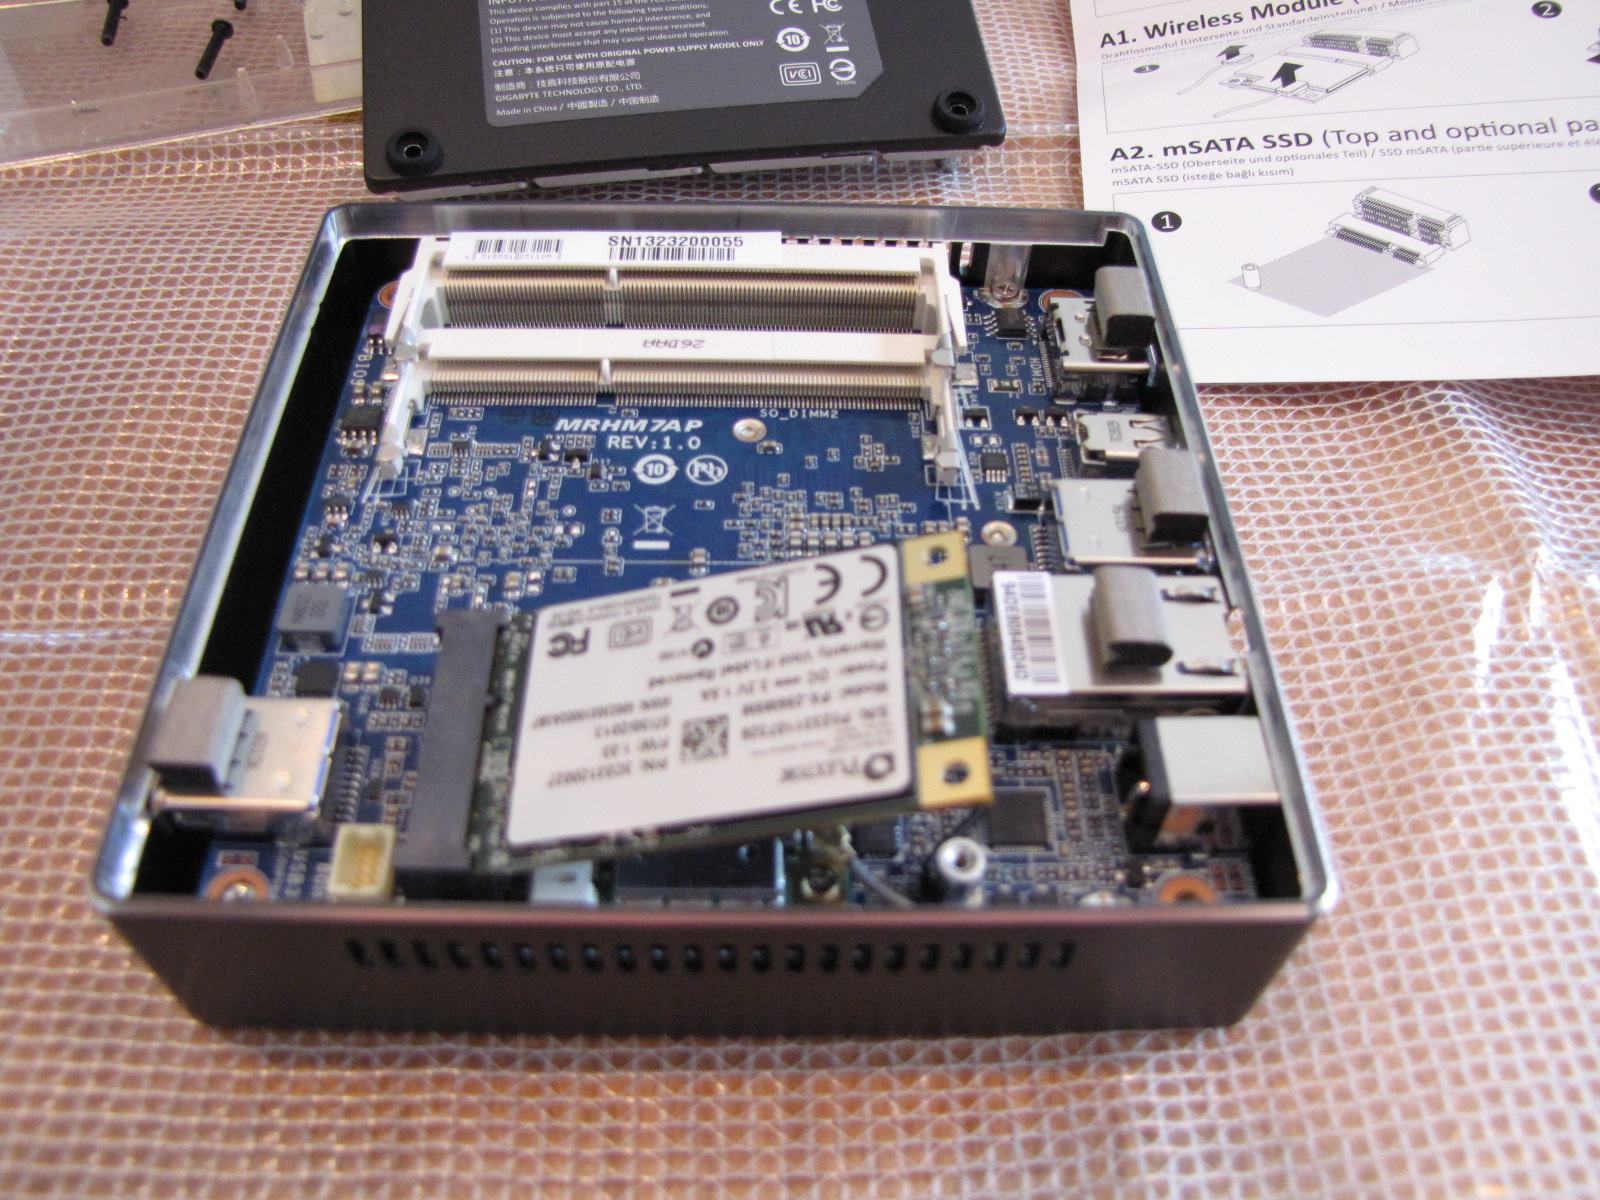
The internals are pretty straightforward.
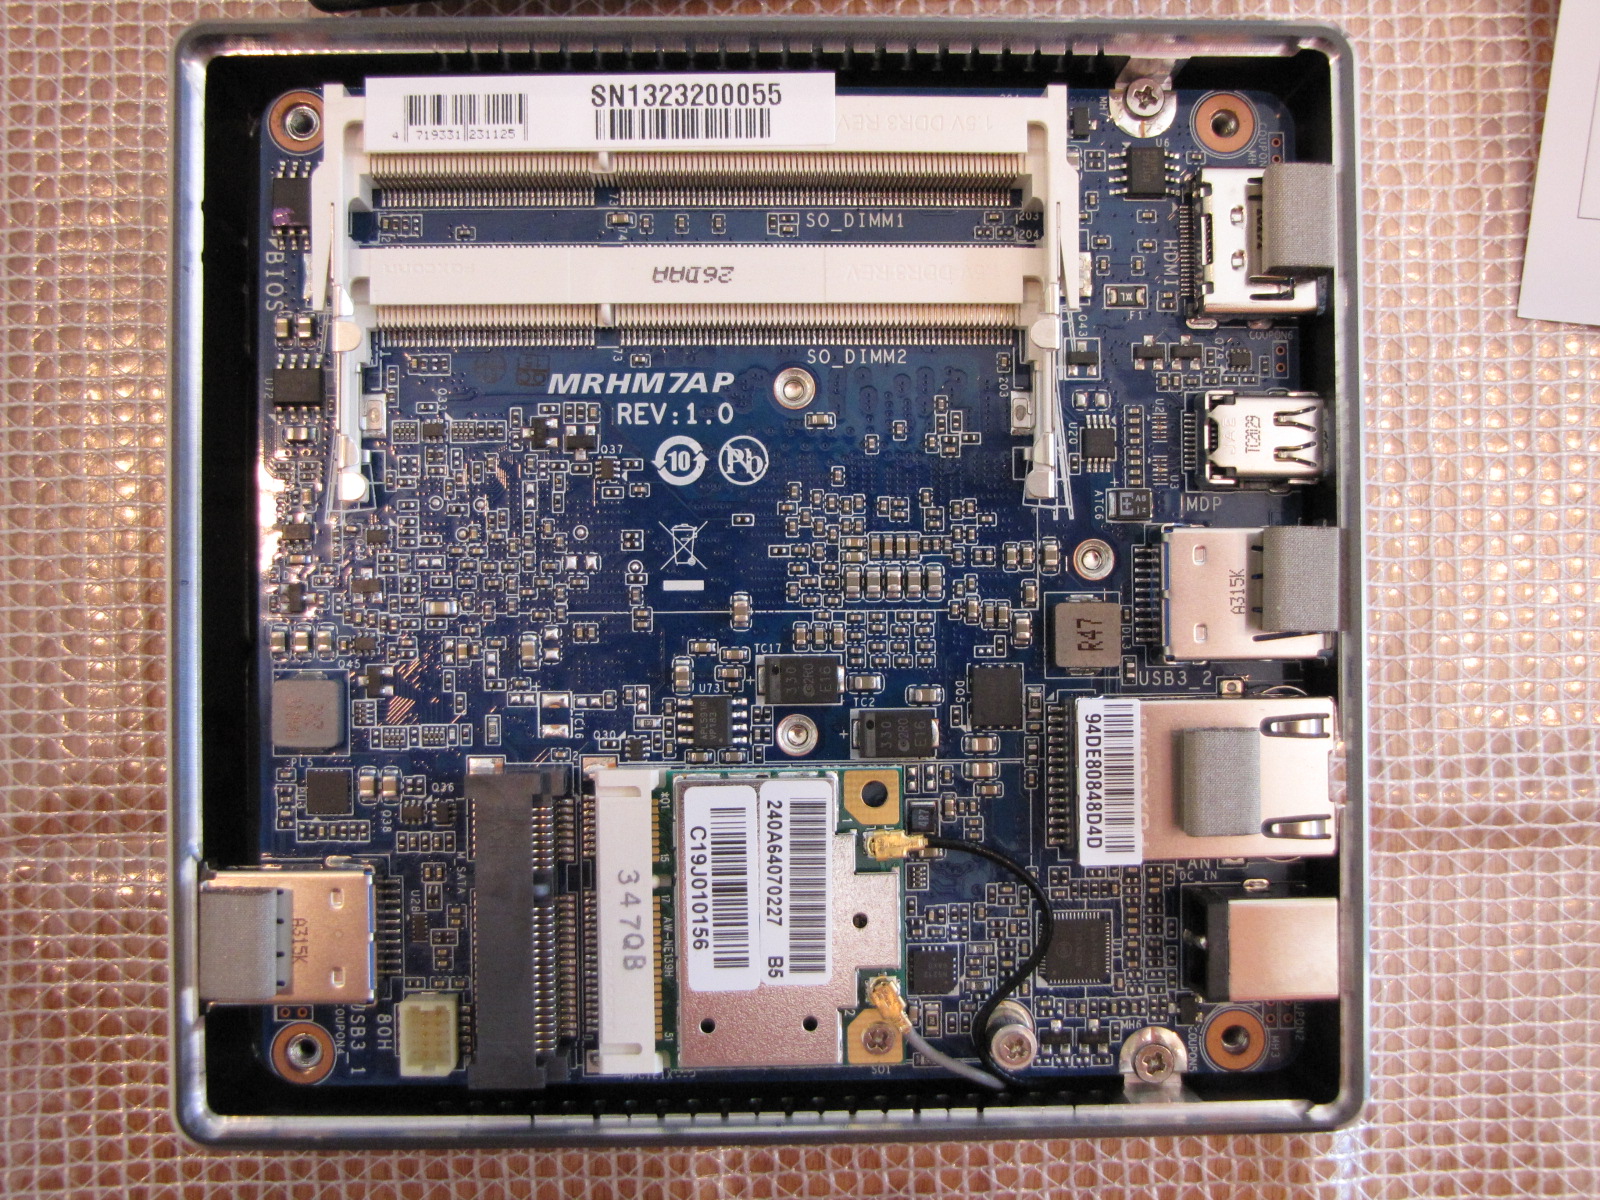
The slots at the top are for memory and the mSATA goes in the bottom. You slide it in to the slot.
It doesn't lie flat. You need to screw it down.
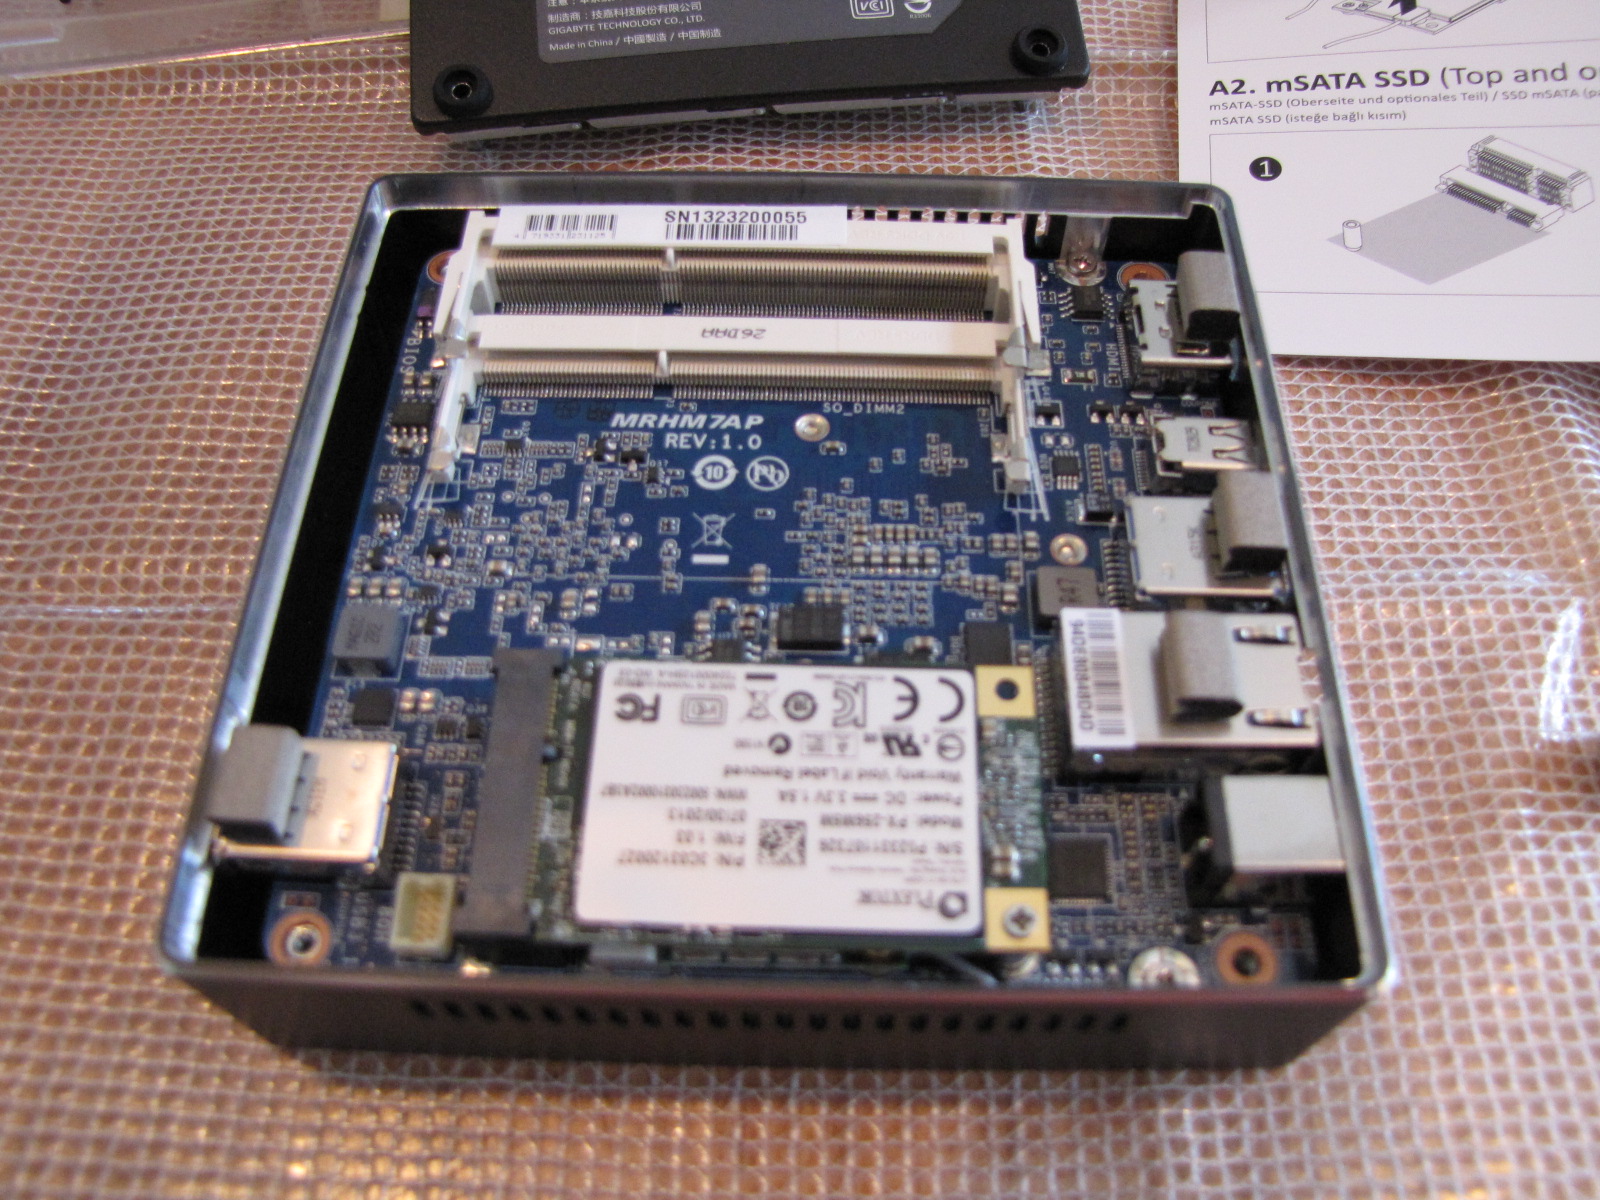
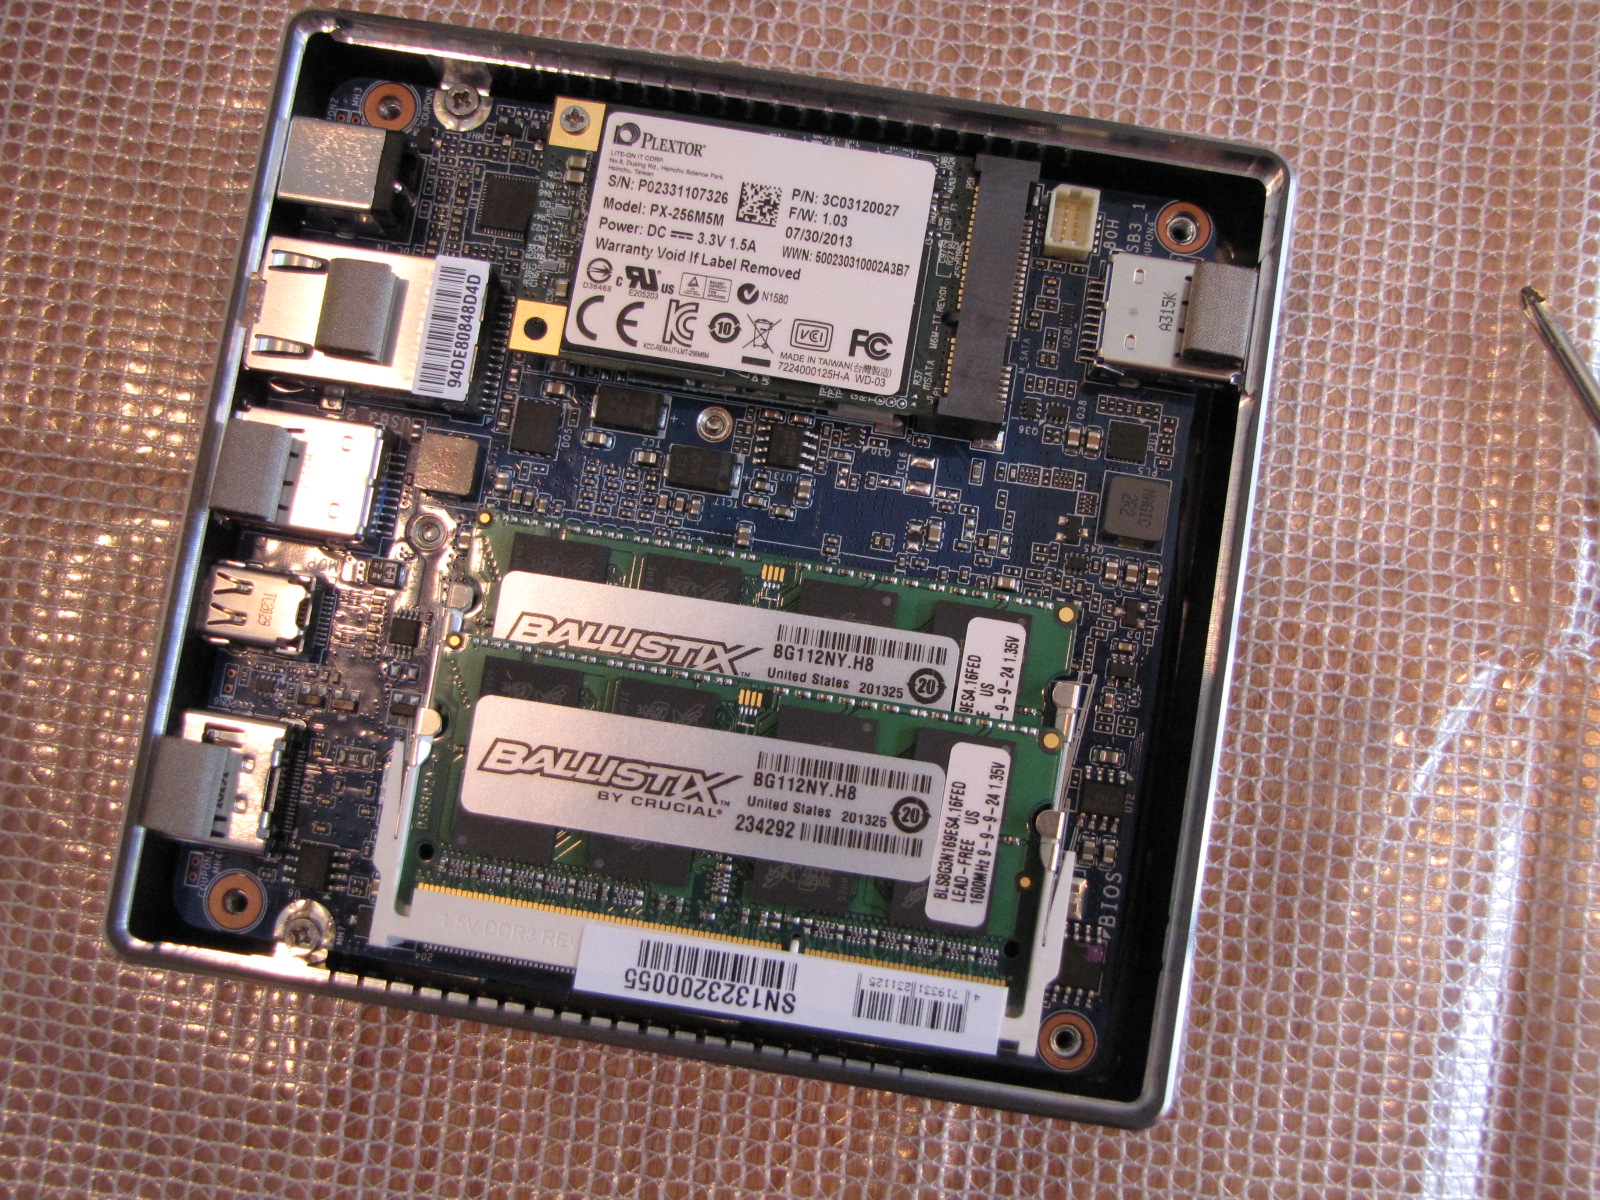
Even though the drive has holes for 2 screws, the Brix only has one, but it seems to get the job done. Next, I slide in the memory. This is easier to do if you insert the stick that will be on the bottom. The sticks slide in and then lock into place.
Here's the finished install.
All that remains is to screw the bottom back on. Here I ran into my first minor gotcha. The unit isn't an exact square so the back can only go on a few ways. But it seemed to me that one way fit better. The bottom has a "This Side Up" label. I think the right way is to have that label pointing to the "back" ports. The Brix is designed to be mounted (it includes a mounting plate), but since I'm not going to do that I think I'm ok.
I hooked up the power and fired it up.
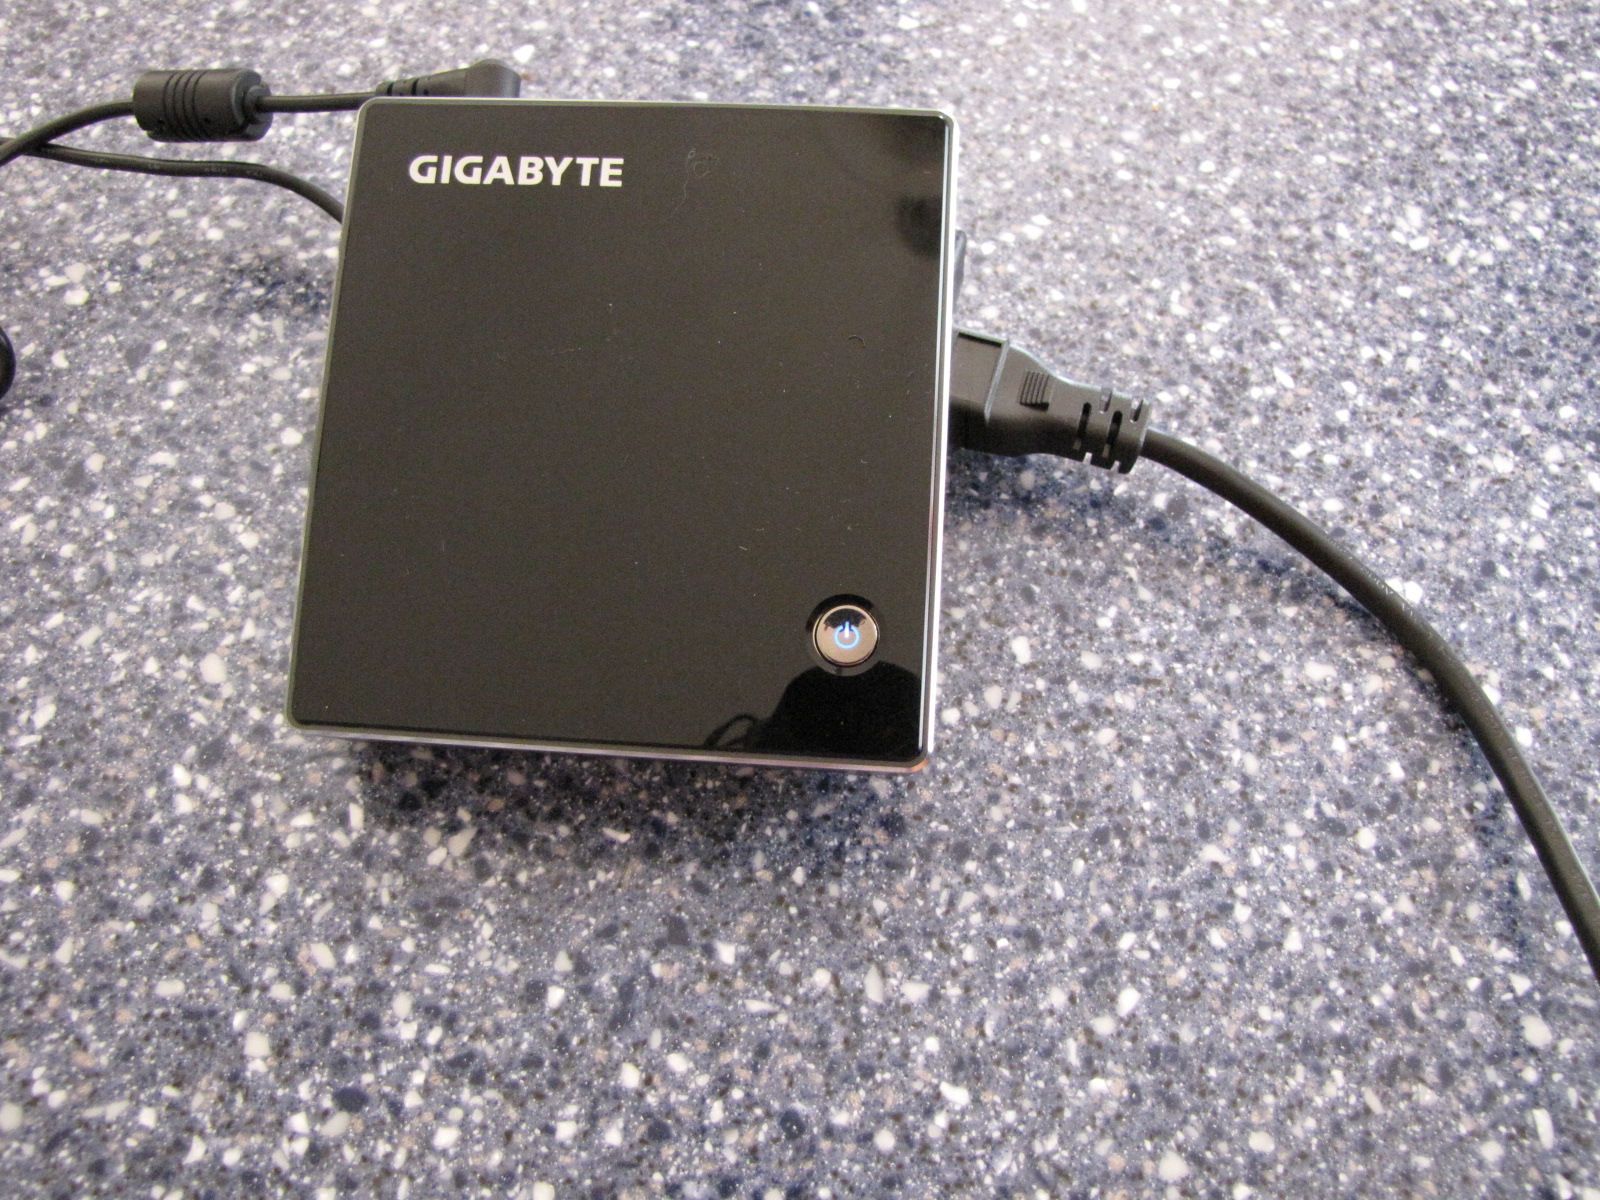
Wow. Other than the blue light on the power button there is no indication that the unit is running. There is a fan, but it is impossible to hear. And of course the mSATA is silent. It is stunningly quiet. I can't wait to get this bad boy loaded.
Wow! Absolutely excellent. I am going to order one.
So what’s the thinking — WiFi for the management interface, wired for the VM switch?
My environment is small so I’ll probably do everything over the wired adapter. But certainly something to consider.
Nice to know I’m not the only one. I too have a Brix, Core i5 but only 8GB of RAM (it’s all the boss would spring for) that I’ve built into Hyper-V
USB 3.0 is the game changer here. I went cheap on the internal SSD and bought a 3TB USB 3.0 Buffalo drive, with 1GB DDR ram acting as a sort of flash cache. Very fast IO.
Anyway with USB 3.0 ports you can add a USB NIC easily, and even team it!
I have a USB 3 drive I plan on moving over. That was definitely a deciding factor.
This is so nice mini Hyper-V project. I really very exited to use this product.
Has anyone had issues installing windows on this box? I keep getting prompted for CD/DVD drivers when installing server 2012 via USB drive. I have injected the drivers which come with the associated CD into the boot.wim file but to no avail.
Thanks,
Brian
If you read all of the articles in the series you’ll see I installed Windows Server 2012 Hyper-V, which is a stripped down version of server core, with no problems. But I did not install a full GUI. Can you skip the driver installs until after the install?
Thanks for your reply. It wont allow me to skip past, but ill download the Hyper-V version and give that a bash, Thanks