One of the reasons I was looking forward to updating to Windows 10 2004 was to have access to the Windows Sandbox feature. I think I tinkered with a pre-release version and was intrigued. I normally have a set of Hyper-V virtual machines that I can test with, but I'm always looking for something new to play with. And what is better to play with than a sand box!
ManageEngine ADManager Plus - Download Free Trial
Exclusive offer on ADManager Plus for US and UK regions. Claim now!
You can enable the feature through Add/Remove Programs. That's what I did. But you should be able to use PowerShell. You might want to first verify you have the right bits.
Get-WindowsOptionalFeature -online -FeatureName Containers-DisposableClientVMIf so, you should be able to enable it.
Enable-WindowsOptionalFeature -Online -FeatureName Containers-DisposableClientVMOnce installed, find the Start Menu shortcut and launch it. It takes but a moment.

The container will have Internet access and is meant to be, as the name implies, disposable. It is also meant to be isolated and protected. However, you can customize the Windows Sandbox to make it better fit your needs. Be aware, that most likely any configurations you impose might reduce security. Or at least the sandbox's original intent. You'll have to balance between security and usability.
Customization Files
The Windows Sandbox doesn't have much in the way of a management interface. Maybe that will change in future versions. If you want to customize your sandbox experience, you need to create an XML file that uses a .wsb extension. There is documentation at https://docs.microsoft.com/en-us/windows/security/threat-protection/windows-sandbox/windows-sandbox-configure-using-wsb-file but I'll share with you what I'm doing.
<Configuration>
    <MappedFolders>
        <MappedFolder>
        <!-- Create a drive mapping that mirrors my Scripts folder -->
            <HostFolder>C:\scripts</HostFolder>
            <SandboxFolder>C:\scripts</SandboxFolder>
            <ReadOnly>false</ReadOnly>
        </MappedFolder>
         <MappedFolder>
            <HostFolder>C:\Pluralsight</HostFolder>
            <SandboxFolder>C:\Pluralsight</SandboxFolder>
            <ReadOnly>true</ReadOnly>
        </MappedFolder>
    </MappedFolders>
    <ClipboardRedirection>true</ClipboardRedirection>
    <MemoryInMB>8192</MemoryInMB>
    <LogonCommand>
     <Command>C:\scripts\sandbox-setup.cmd</Command>
    </LogonCommand>
</Configuration>
For my purposes, I want a relatively clean PowerShell environment for testing code and modules. I also wanted something I might use in a Pluralsight course.
Remember, nothing is persistent in the sandbox but you can use a configuration file to at least set the initial state. That's what I am doing. The first part of the file is mapping folders from my desktop to the sandbox. I want to have full access to my Scripts folder. To keep things simple I'm using the same folder path. I'm also mapping a folder to my local Pluralsight folder. This has files I need for my setup, which I'll get to in a moment. As a precaution from doing anything stupid, I am making this a read-only folder.
I want to be able to easily copy and paste so I enable the clipboard. I'm also setting how much memory I want the sandbox to use. My desktop as 32GB of RAM so I can easily set aside 8GB. Now for the fun part.
Logon Command
You can define a command to run when the sandbox starts up. After a bit of testing and experimentation, I concluded the easiest solution was to create a batch cmd file. This file can then call all the other code I need for my configuration.
REM sandbox-setup.cmd
REM This code runs in the context of the Windows Sandbox
REM Create my standard Work folder
mkdir c:\work

REM set execution policy first so that a setup script can be run
powershell.exe -command "&{Set-ExecutionPolicy RemoteSigned -force}"

REM Now run the true configuration script
powershell.exe -file c:\scripts\sandbox-config.ps1
As I mentioned, the sandbox is locked down by default so I'm easing up on the restrictions to meet my needs. Such as setting the execution policy. The main configuration is done in the Sandox-config.ps1 file.
Enable-PSRemoting -force -SkipNetworkProfileCheck

Install-PackageProvider -name nuget -force -forcebootstrap -scope allusers
Update-Module PackageManagement,PowerShellGet -force

#run updates and installs in the background
Start-Job {Install-Module PSScriptTools,PSTeachingTools -force}
Start-Job {Install-Module PSReleaseTools -force; Install-PowerShell -mode quiet -enableremoting -EnableContextMenu}
Start-Job {Install-Module WTToolbox -force ; Install-WTRelease}
Start-Job -FilePath c:\scripts\install-vscodesandbox.ps1
Start-Job -FilePath c:\scripts\Set-SandboxDesktop.ps1

#wait for everything to finish
Get-Job | Wait-Job
The first part of the script should be self-evident. The last part of the script kicks off a series of other scripts and commands as background jobs. The end of the script is waiting for all the jobs to finish, although that doesn't really do much since all of this runs "behind the scenes".
I install some of my standard modules, include PSReleaseTools so that I can install PowerShell 7. I also install my WTToolbox module so that I can easily install Windows Terminal. Of course, I'd like to have VS Code, so that gets installed via a script.
#Install-VSCodeSandbox.ps1

$file = Join-Path -path $env:temp -child 'VSCodeSetup-x64.exe'
Invoke-WebRequest -Uri "https://update.code.visualstudio.com/latest/win32-x64-user/stable" -OutFile $file -DisableKeepAlive -usebasicparsing

$loadInf = '@
[Setup]
Lang=english
Dir=C:\Program Files\Microsoft VS Code
Group=Visual Studio Code
NoIcons=0
Tasks=desktopicon,addcontextmenufiles,addcontextmenufolders,addtopath
@'

$infPath = Join-Path -path $env:TEMP -child load.inf
$loadInf | Out-File $infPath

Start-Process -FilePath $file -ArgumentList "/VERYSILENT /LOADINF=${infPath}" -Wait

#add extensions
Start-Process -filepath "C:\Program Files\Microsoft VS Code\bin\code.cmd" -ArgumentList "--install-extension ms-vscode.powerShell"
The last step is to configure the desktop to meet my Pluralsight needs. This is primarily a metter of hiding some icons like the clock and setting a wallpaper.
# Set-SandboxDesktop.ps1
# my Pluralsight related configuration

function Update-Wallpaper {
  [cmdletbinding(SupportsShouldProcess)]
    Param(
        [Parameter(Position = 0,HelpMessage="The path to the wallpaper file.")]
        [alias("wallpaper")]
        [ValidateScript({Test-Path $_})]
        [string]$Path = $(Get-ItemPropertyValue -path 'hkcu:\Control Panel\Desktop\' -name Wallpaper)
    )

    Add-Type @"

    using System;
    using System.Runtime.InteropServices;
    using Microsoft.Win32;

    namespace Wallpaper
    {
        public class UpdateImage
        {
            [DllImport("user32.dll", SetLastError = true, CharSet = CharSet.Auto)]

            private static extern int SystemParametersInfo (int uAction, int uParam, string lpvParam, int fuWinIni);

            public static void Refresh(string path)
            {
                SystemParametersInfo( 20, 0, path, 0x01 | 0x02 );
            }
        }
    }
"@

    if ($PSCmdlet.shouldProcess($path)) {
        [Wallpaper.UpdateImage]::Refresh($Path)
    }
}

#configure the taskbar and hide icons

if (-not (Test-Path hkcu:\Software\Microsoft\Windows\CurrentVersion\Policies\Explorer)) {
    [void](New-Item hkcu:\Software\Microsoft\Windows\CurrentVersion\Policies\Explorer)
}

Set-ItemProperty hkcu:\Software\Microsoft\Windows\CurrentVersion\Policies\Explorer\ -Name Hideclock -Value 1
Set-ItemProperty hkcu:\Software\Microsoft\Windows\CurrentVersion\Policies\Explorer\ -Name HideSCAVolume -Value 1
Set-ItemProperty hkcu:\Software\Microsoft\Windows\CurrentVersion\Policies\Explorer\ -Name HideSCANetwork -Value 1

if (-not (Test-Path hkcu:\Software\Microsoft\Windows\CurrentVersion\Explorer\Advanced)) {
    [void](New-Item hkcu:\Software\Microsoft\Windows\CurrentVersion\Explorer\Advanced)
}

Set-ItemProperty hkcu:\Software\Microsoft\Windows\CurrentVersion\Explorer\Advanced -Name HideIcons -Value 1

#configure wallpaper
Set-ItemProperty 'hkcu:\Control Panel\Desktop\' -name Wallpaper -Value C:\Pluralsight\Wallpaper\Pluralsight_Wallpaper_Fall_2015_Black.jpg
Set-ItemProperty 'hkcu:\Control Panel\Desktop\' -name WallpaperOriginX -value 0
Set-ItemProperty 'hkcu:\Control Panel\Desktop\' -name WallpaperOriginY -value 0
Set-ItemProperty 'hkcu:\Control Panel\Desktop\' -name WallpaperStyle -value 10

Update-WallPaper

<# This doesn't work completely in newer versions of Windows 10 Invoke-Command {c:\windows\System32\RUNDLL32.EXE user32.dll,UpdatePerUserSystemParameters 1,True} #>
#this is a bit harsh but it works
Get-Process explorer | Stop-Process -force
How does all of this come together?
Start-WindowsSandbox
I have a function loaded into my PowerShell profile that makes it easy to launch the Windows Sandbox.
Function Start-WindowsSandbox {
    [cmdletbinding(DefaultParameterSetName = "config")]
    [alias("wsb")]
    Param(
        [Parameter(ParameterSetName = "config")]
        [ValidateScript({Test-Path $_})]
        [string]$Configuration = "C:\scripts\WinSandBx.wsb",
        [Parameter(ParameterSetName = "normal")]
        [switch]$NoSetup
    )

    Write-Verbose "Starting $($myinvocation.mycommand)"

    if ($NoSetup) {
        Write-Verbose "Launching default WindowsSandbox.exe"
        c:\windows\system32\WindowsSandbox.exe
    }
    else {
        Write-Verbose "Launching WindowsSandbox using configuration file $Configuration"
        Invoke-Item $Configuration
    }

    Write-Verbose "Ending $($myinvocation.mycommand)"
}
The default behavior is to use my customization file. Although I gave myself an option to start the sandbox with no customizations. The function has an alias of wsb which makes it very easy to run.
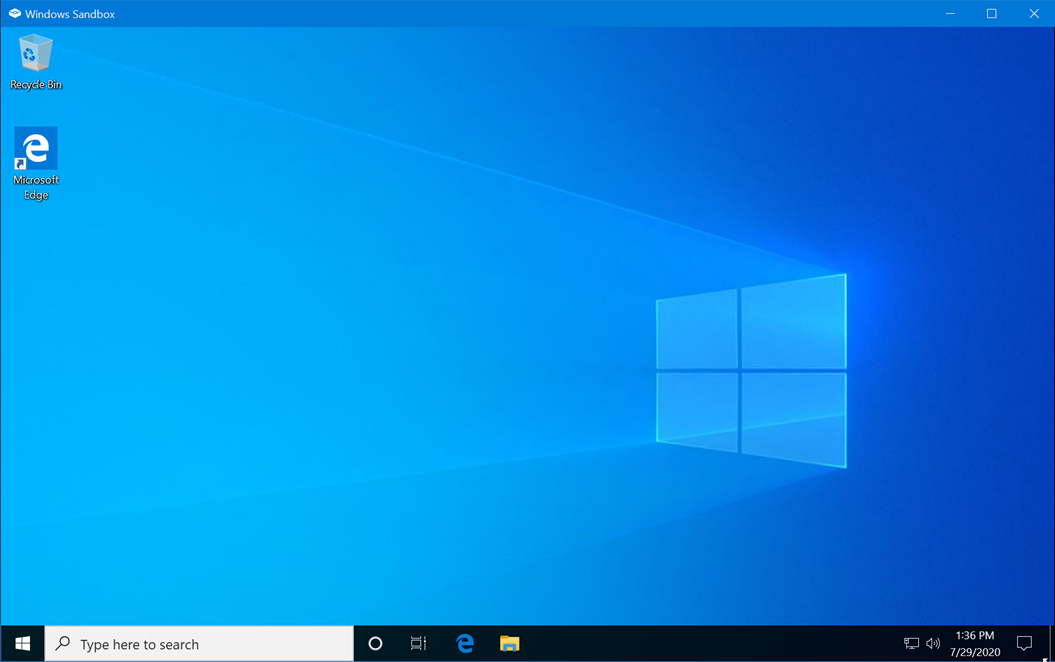
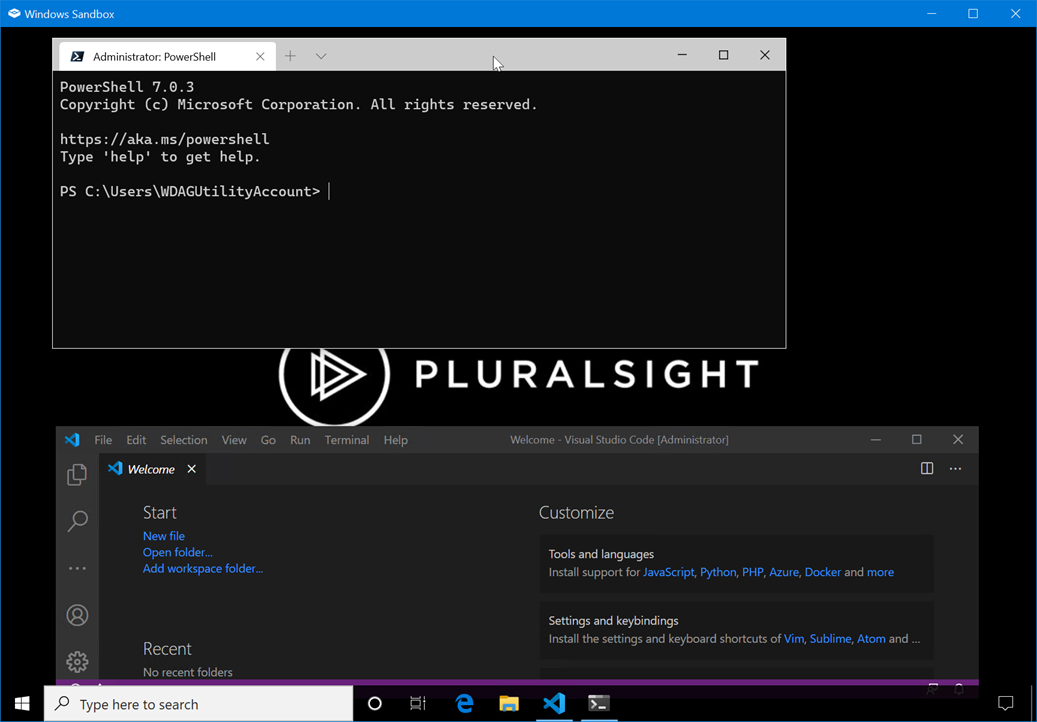
When I run it, I get the Windows Sandbox with the default desktop. in the background my setup and configuration files are running. Within a minute or so the desktop changes to my Pluralsight background and I know I'm almost done. I might experiment with adding a BurntToast notification.

But now I have a sandbox configuration ready to go that meets my requirements. Yes, I have reduced the overall security but it is nothing that I can't live with.
You are welcome to grab the code and try things out for yourself. As always, I'd love to hear what you think.

I modified my setup to install the BurntToast module. Then at the end of Sandbox-config.ps1 I run a short script to display the toast notification.
#sandbox-toast.ps1 $params = @{ Text = "Windows Sandbox configuration is complete." Header = $(New-BTHeader -Id 1 -Title "Jeff's Sandbox") Applogo = "c:\scripts\gazoo.bmp" } New-BurntToastNotification @paramsThat’s pretty heavy setup script, how much total time it takes to run through startup script?
It isn’t too bad. It takes about 2 minutes from typing the command to launch to the finished configuration.
8GB = 8192MB
You wrote 8096 (4096MB = 4GB ?)
Thanks for catching my sloppy math. I was only setting aside 7.5GB!!
Many heavy lifting in the script can actually be handled by DSC. Since we can map the drive between machines, isn’t it much nicer to map a localhost MOF into the sandbox, and ask DSC to handle the rest. Example, using Packagemanagement, Choco resources to install all your needful.
That seems like a reasonable request I may have to try. DSC is a topic that many IT Pros aren’t familiar with so I was trying to stick with traditional scripting approaches. I also don’t know if the sandbox supports DSC. It is technically a container and not a full-blown Windows 10 virtual machine. But now I’m curious.
A quick test shows using DSC is possible. It looks like you need to enable PSRemoting in the sandbox.
Hi Jeffery,
That is very nice to know 🙂
Ever since I learned DSC and especially followed your DSC course, using DSC to configure becomes my first all-time first choice.
Thanks for your information here, I will try if I can make it work in the sandbox.
It will also be highly appreciated if you can write a post about your journey there.
It is never unpleasant to read your posts 🙂
Thanks